Trezor.io/start (Official) | Set up your #Trezor Model One
In the rapidly evolving world of cryptocurrency, securing your digital assets is no longer optional—it's essential. Trezor, a pioneer in hardware wallets, offers unmatched protection for your crypto through its user-friendly and secure platform. If you're looking to begin your crypto security journey, Trezor.io/start is your ultimate launchpad. This guide will walk you through everything you need to know to get started safely and effectively.
Why Choose Trezor? 🔐
When it comes to protecting digital currencies, Trezor stands as one of the most trusted and reliable hardware wallets in the industry. Developed by SatoshiLabs, it offers advanced features while maintaining ease of use for both beginners and experienced crypto users.
Key Features of Trezor:
- Military-grade Security: Your private keys are stored offline, away from hackers and malware.
- User Control: Trezor ensures that you are the only one with access to your crypto.
- Multi-Currency Support: Compatible with 1,000+ cryptocurrencies including Bitcoin, Ethereum, Litecoin, and more.
- Open Source Technology: Reviewed and improved by a global community of developers.
- Cross-Platform Compatibility: Works with Windows, macOS, Linux, and even Android.
Setting Up Your Trezor Wallet via Trezor.io/Start 🛠️
Trezor.io/start is the official onboarding portal designed to help users securely activate and initialize their Trezor device. Here’s a detailed breakdown of the setup process:
Step 1: Unbox and Connect
- Open your Trezor package and ensure it includes the device, USB cable, recovery seed cards, and user manual.
- Plug your Trezor into your computer or smartphone using the provided cable.
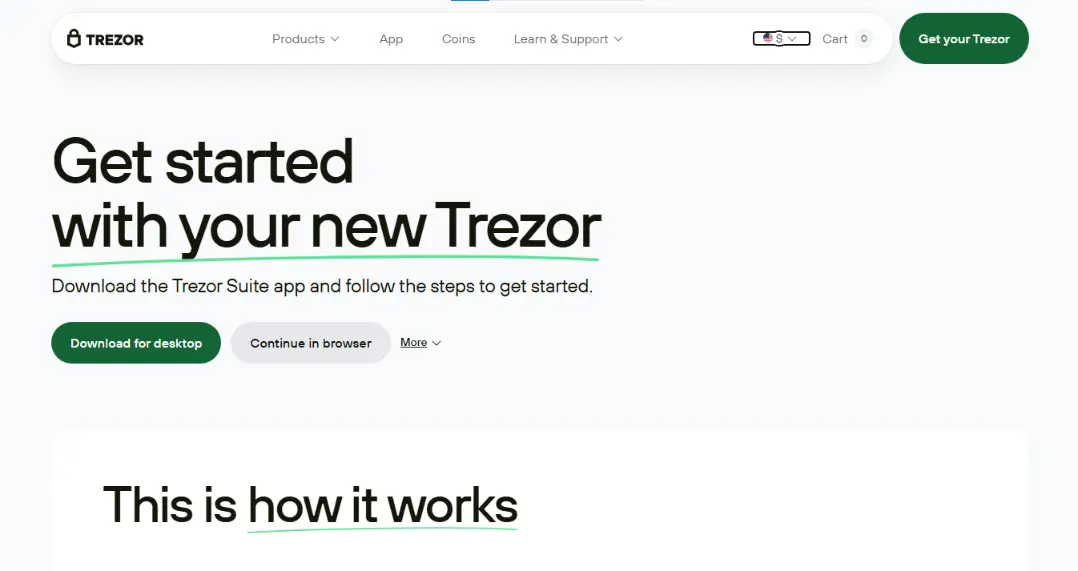
Step 2: Navigate to Trezor.io/Start
- Open your browser and go to Trezor.io/start.
- Choose your device model (Trezor Model One or Model T).
- Download and install Trezor Suite, the official desktop or web app.
Step 3: Firmware Installation
- Follow the on-screen prompts to install the latest firmware. This step ensures you're using the most secure version available.
- Once complete, your Trezor will reboot automatically.
Step 4: Wallet Initialization
- You’ll be given the option to create a new wallet or recover an existing one.
- Choose "Create Wallet" and write down your recovery seed—a 12 to 24-word phrase. Do not store it digitally; write it on paper and keep it offline.
Step 5: Set PIN and Name
- Set a secure PIN for an extra layer of protection.
- You can also name your device for personalization and easy identification.
Tips for Keeping Your Crypto Safe 🔒
- Never share your recovery seed with anyone.
- Avoid third-party links and always use Trezor.io/start for setup.
- Enable passphrase protection for enhanced security.
- Regularly update firmware via Trezor Suite.
Final Thoughts: Trezor.io/Start Is Your First Step to Digital Freedom 🚀
Trezor.io/start offers a seamless, secure, and beginner-friendly path to getting your hardware wallet up and running. By taking the right steps from the start, you can ensure the safety of your crypto assets against digital threats. Whether you’re a casual holder or a seasoned investor, the journey to secure crypto storage begins here.